
Setup Instructions
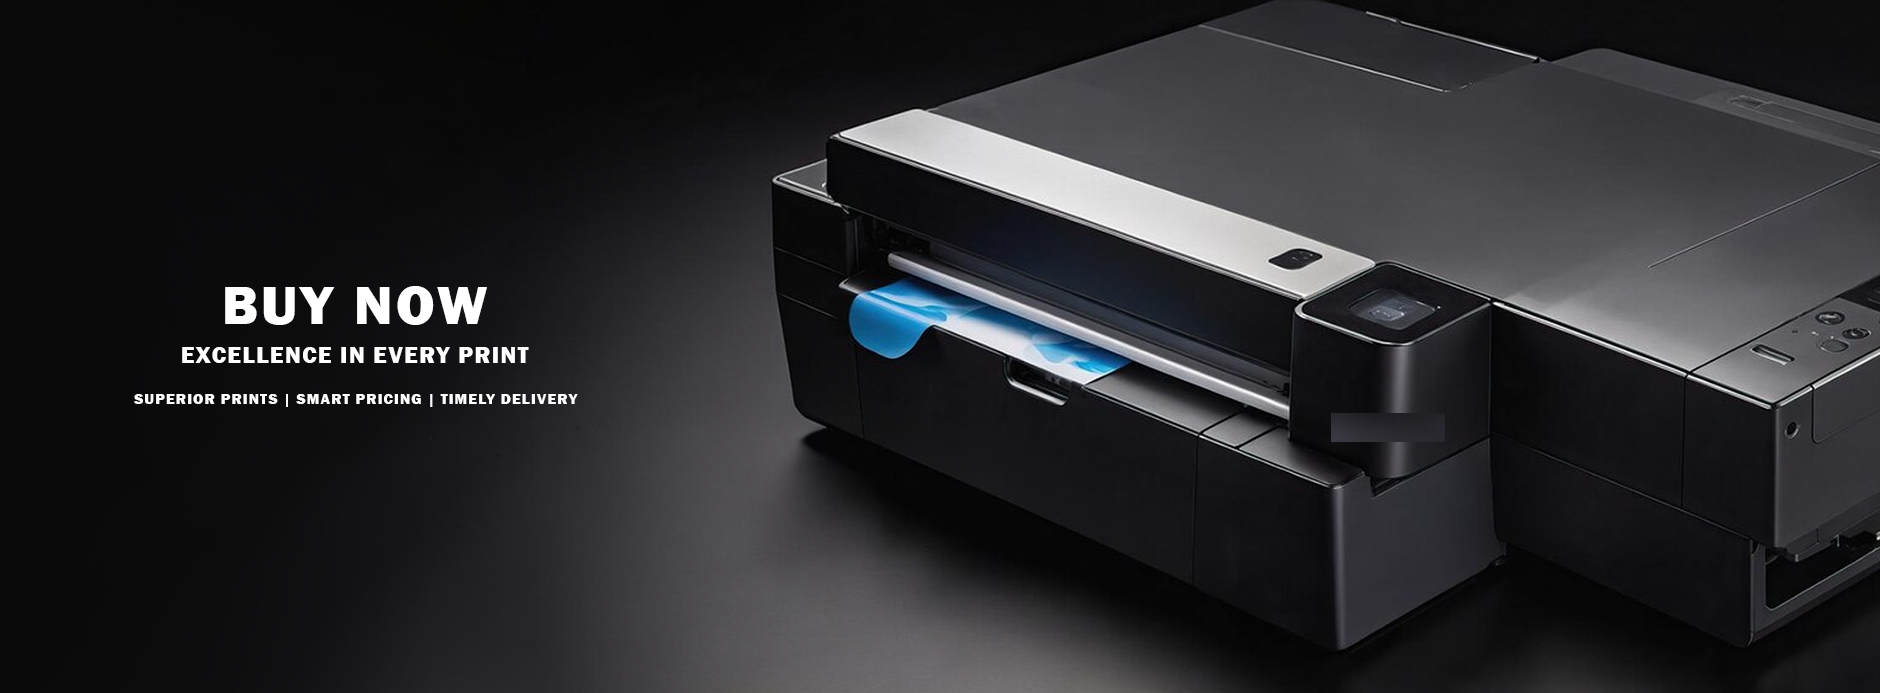
Trusted Solutions for Printers, Toners & More
Top Brands | Great Prices | Fast, Reliable Delivery
SETUP INSTRUCTIONS
Easy Setup Guides for All-in-One Printers
- Setting up a brand-new Refurbished Printers
- Connecting your printer to Wi-Fi
- Installing the latest drivers
- Fixing common offline issues
- Printing from your phone or computer
- General tips to keep your printer running smoothly
SET UP YOUR PRINTER | SOLVE CONNECTION ISSUES | INSTALL DRIVERS
Printer Setup Guide: Simple Steps to Get Started
Whether you're setting up an Refurbished Printers Deskjet, Envy, OfficeJet Pro, Smart Tank, or LaserJet printer, this guide walks you through each step.
Step 1: Unbox Your Printer
Start by opening the box and taking out everything inside. You should see the printer, some cables, cartridges, and a few booklets.
- Place the printer on a clean, flat surface where you plan to use it.
- Remove all the plastic covers, tapes, and packaging materials from inside and outside the printer.
Step 2: Plug It In and Turn It On
- Find the power cable in the box.
- Plug one end into the printer and the other into a power outlet.
- Press the power button. Most Refurbished Printers models have it on the front or side of the printer.
Step 3: Load Paper
To prepare for printing:
- Open the input tray. This is usually located at the back or bottom, depending on the model.
- Slide the paper width guides outward to make space.
- Place some plain A4 paper in the tray.
- Adjust the sliders to fit the paper snugly.
Step 4: Install Ink Cartridges
Your printer won’t work without ink, so this step is important.
- Open the cartridge access door.
- Wait for the cartridge holder to move into view.
- Unwrap the new cartridges and remove the protective tape.
- Match each cartridge to its colour-coded slot and push it in gently until it clicks.
- Close the cartridge door.
You may hear the printer make some noise. This is normal—it’s preparing the cartridges.
Step 5: Align the Ink (If Prompted)
Some Refurbished Printers printers will ask you to align the cartridges after installation.
- If your printer shows a prompt, follow the on-screen steps.
- It may print a test page to align the ink properly.
- This helps keep your prints clear and sharp.
Step 6: Connect to Wi-Fi
If you want to print wirelessly, connect the printer to your home or office network.
- Use the printer’s screen or control panel to find the Wi-Fi or network option.
- Select your Wi-Fi name from the list.
- Enter your password carefully.
- Wait for the connection to complete. You’ll usually see a confirmation message once it’s connected.
Step 7: Install Printer Software and Drivers
To start printing from your computer or phone, you’ll need the right software.
Option 1: Use the Refurbished Printers Smart App
- Download the Refurbished Printers Smart app for your laptop, phone, or tablet.
- Open the app and follow the steps to detect and link your printer.
Option 2: Use the Setup CD
- If your printer came with a CD, insert it into your computer.
- Open the setup file that appears.
- Follow the instructions to complete the installation.
- Choose your preferred connection type (USB or wireless).
Step 8: Test the Printer
Now it’s time to make sure everything is working:
- Open any document or image on your device.
- Click the print option and select your Refurbished Printers printer.
- If the document prints correctly, you’re all set.
Step 9: Print from Your Phone (Optional)
Want to print directly from your mobile device? Here’s how:
- Download the Refurbished Printers Smart app on your phone or tablet.
- Open it and follow the steps to connect your printer.
- You can now print and scan directly from your phone.
Step 10: Troubleshooting and Maintenance Tips
If something doesn’t work the way it should:
- Make sure your Wi-Fi is working.
- Try restarting the printer and your device.
- Double-check if the driver is correctly installed.
- Visit the official Refurbished Printers Support site for extra help.
To keep your printer in good condition:
- Clean the printhead every few weeks.
- Replace ink cartridges when running low.
- Keep the paper tray clean and dust-free.
Need Help?
If you're stuck, don’t stress. There’s always help available online, and support is available around the clock. Most issues are easy to fix, and we’re here to make sure nothing holds you back.
Final Words
Setting up an Refurbished Printers printer doesn’t have to be complicated. Once you follow these steps, you’re ready to start printing, whether at home, in a classroom, or at work. And once it’s up and running, regular care will keep it going smoothly for a long time.